DIY Scrunchie Instructions
Step One.
Find the “good side” of your fabric (the side you want to be showing) and place your fabric good side down on a table or flat surface.
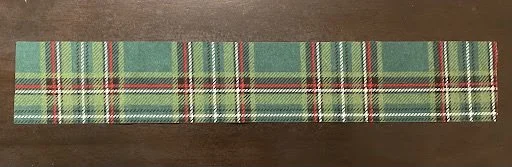
“Good” Side

“Bad” Side
Step Two.
Fold over one edge on the short side of the fabric by ¼”. Sew a straight line across the fabric securing the folded edge to the fabric. You can pin or iron the fabric in place prior to sewing.
Fold over and pin here

Sew here
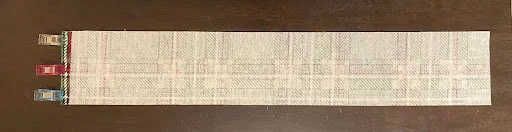
Step Three.
Fold the fabric in half lengthwise with the good side of the fabric on the inside of the fold. Sew a straight line about ¼ ” in from your fabric the entire length of the fabric ensuring that both edges of the fold match up with one another. Again, you can pin or iron your fabric prior to sewing to keep in place. You should now have an inside out tube with one finished edge and one raw edge.
Fold over and pin here

Sew here
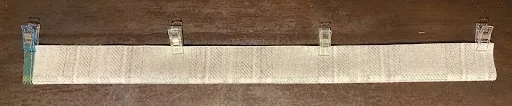
Step Four.
Turn the tube you have created right-side out. You can either attach a safety pin to one edge, pulling it right-side out, or, you can use your fingers to do this.

Completed tube
Step Five.
Attach one end of your elastic to a safety pin (you can also use a pen or sharpie marker and tie the elastic around the clip on the side to accomplish the same goal). Holding onto one end of the elastic, thread the other end through the fabric tube until you have both pieces of elastic in one hand.
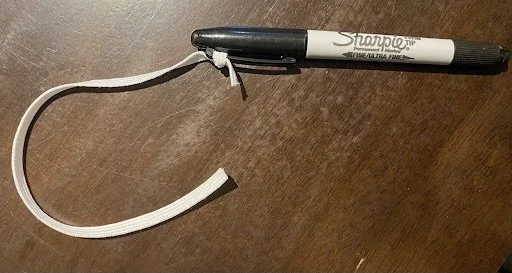
Elastic secured to Sharpie
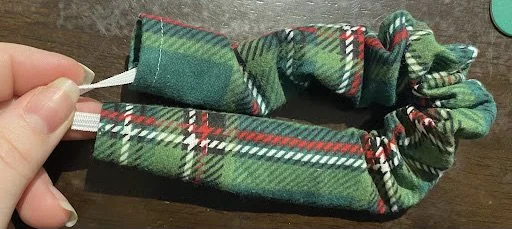
Elastic fed through tube until both ends meet
Step Six.
While holding onto both ends of the elastic, slip your hand inside the scrunchie to determine how loose or tight you want the scrunchie. Generally, you want there to be slight tension when on your wrist. Once you have determined what size scrunchie you would like, tie your elastic in a knot and pull enough to secure the knot, checking to make sure that it will not move if you try to pull the elastic apart. Check the size of the scrunchie once more on your wrist before moving on from this step and then cut off the excess elastic leaving about a half inch above the knot.

Knotted elastic
Step Seven.
Find the finished edge of the fabric that you created earlier and take it in your dominant hand. Check that the lengthwise sewn edge is not twisted and follow it to the raw edge of your fabric. You should now have your sewn edge in one hand and the raw edge in the other. Carefully place the raw edge inside the finished edge making sure to smooth out any bumps in the fabric inside. Push the raw edge about ¾” inside the tube ensuring you have enough fabric to sew through and that you will not be sewing through the very edge of the raw side.
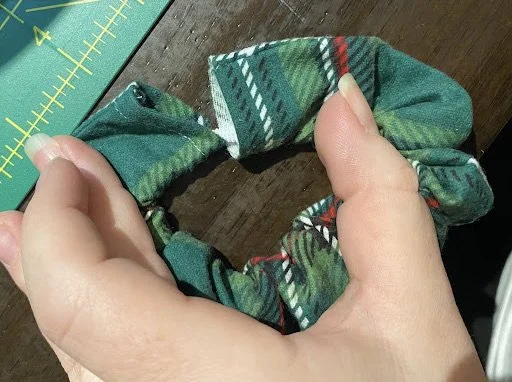
Edges of fabric prior to slipping the raw edge into the finished edge
Raw edge hidden inside fabric
Step Eight.
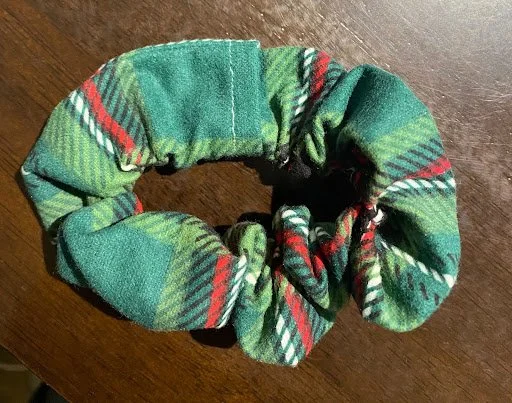
Sew a straight line across the opening of the tube securing the raw edge inside the tube of the scrunchie.
Sewn across opening
Step Nine.
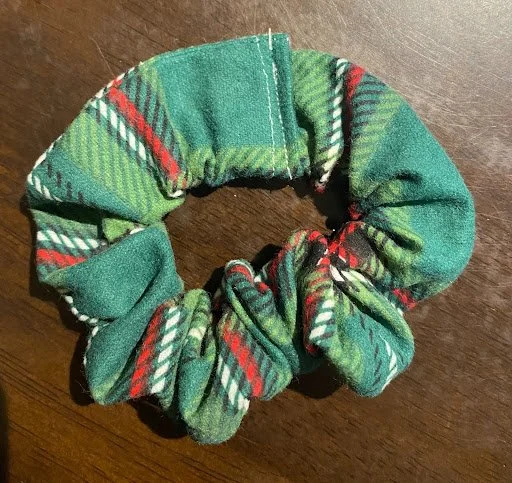
Congratulations! You can now rock your new, handmade scrunchie!