DIY Macrame Instructions
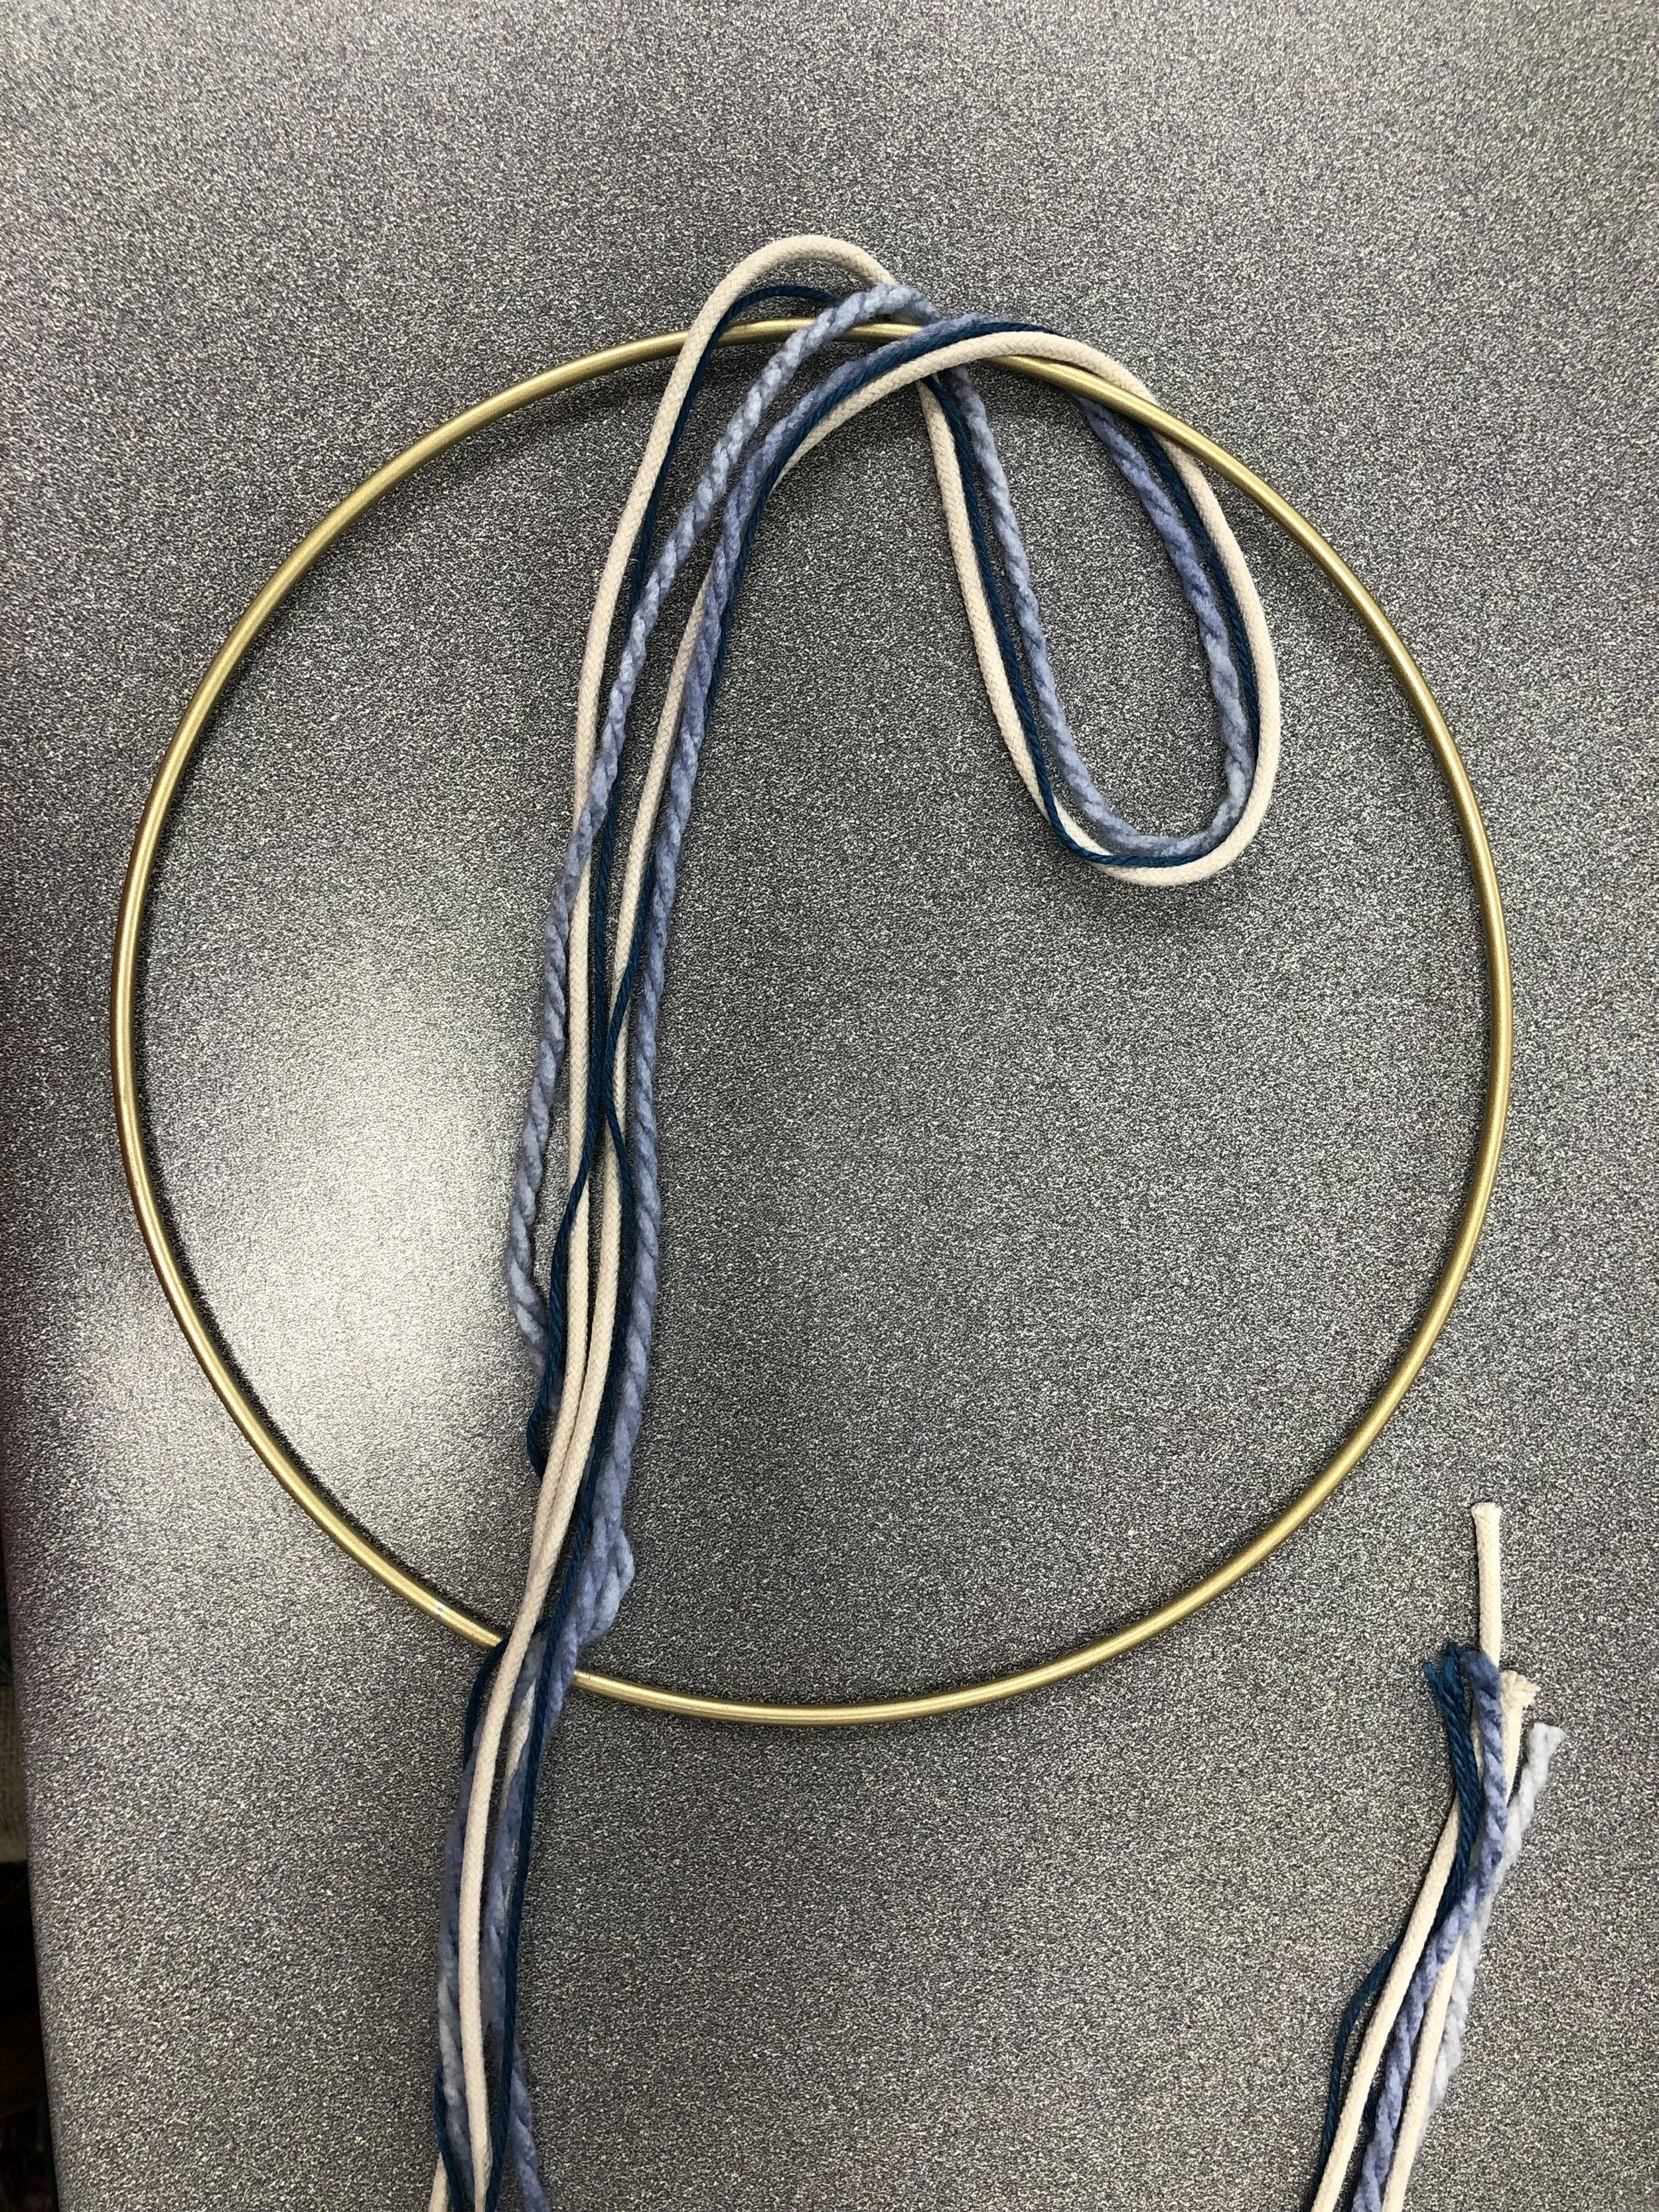
Step One.

Combine 2 strings and one rope, fold them once, end to end.
Step Two.

Lay loop side over the ring.
Step Three.
Feed loose ends over and into the loop.
Step Four.

Pull ends tight to form a knot.
Step Five.

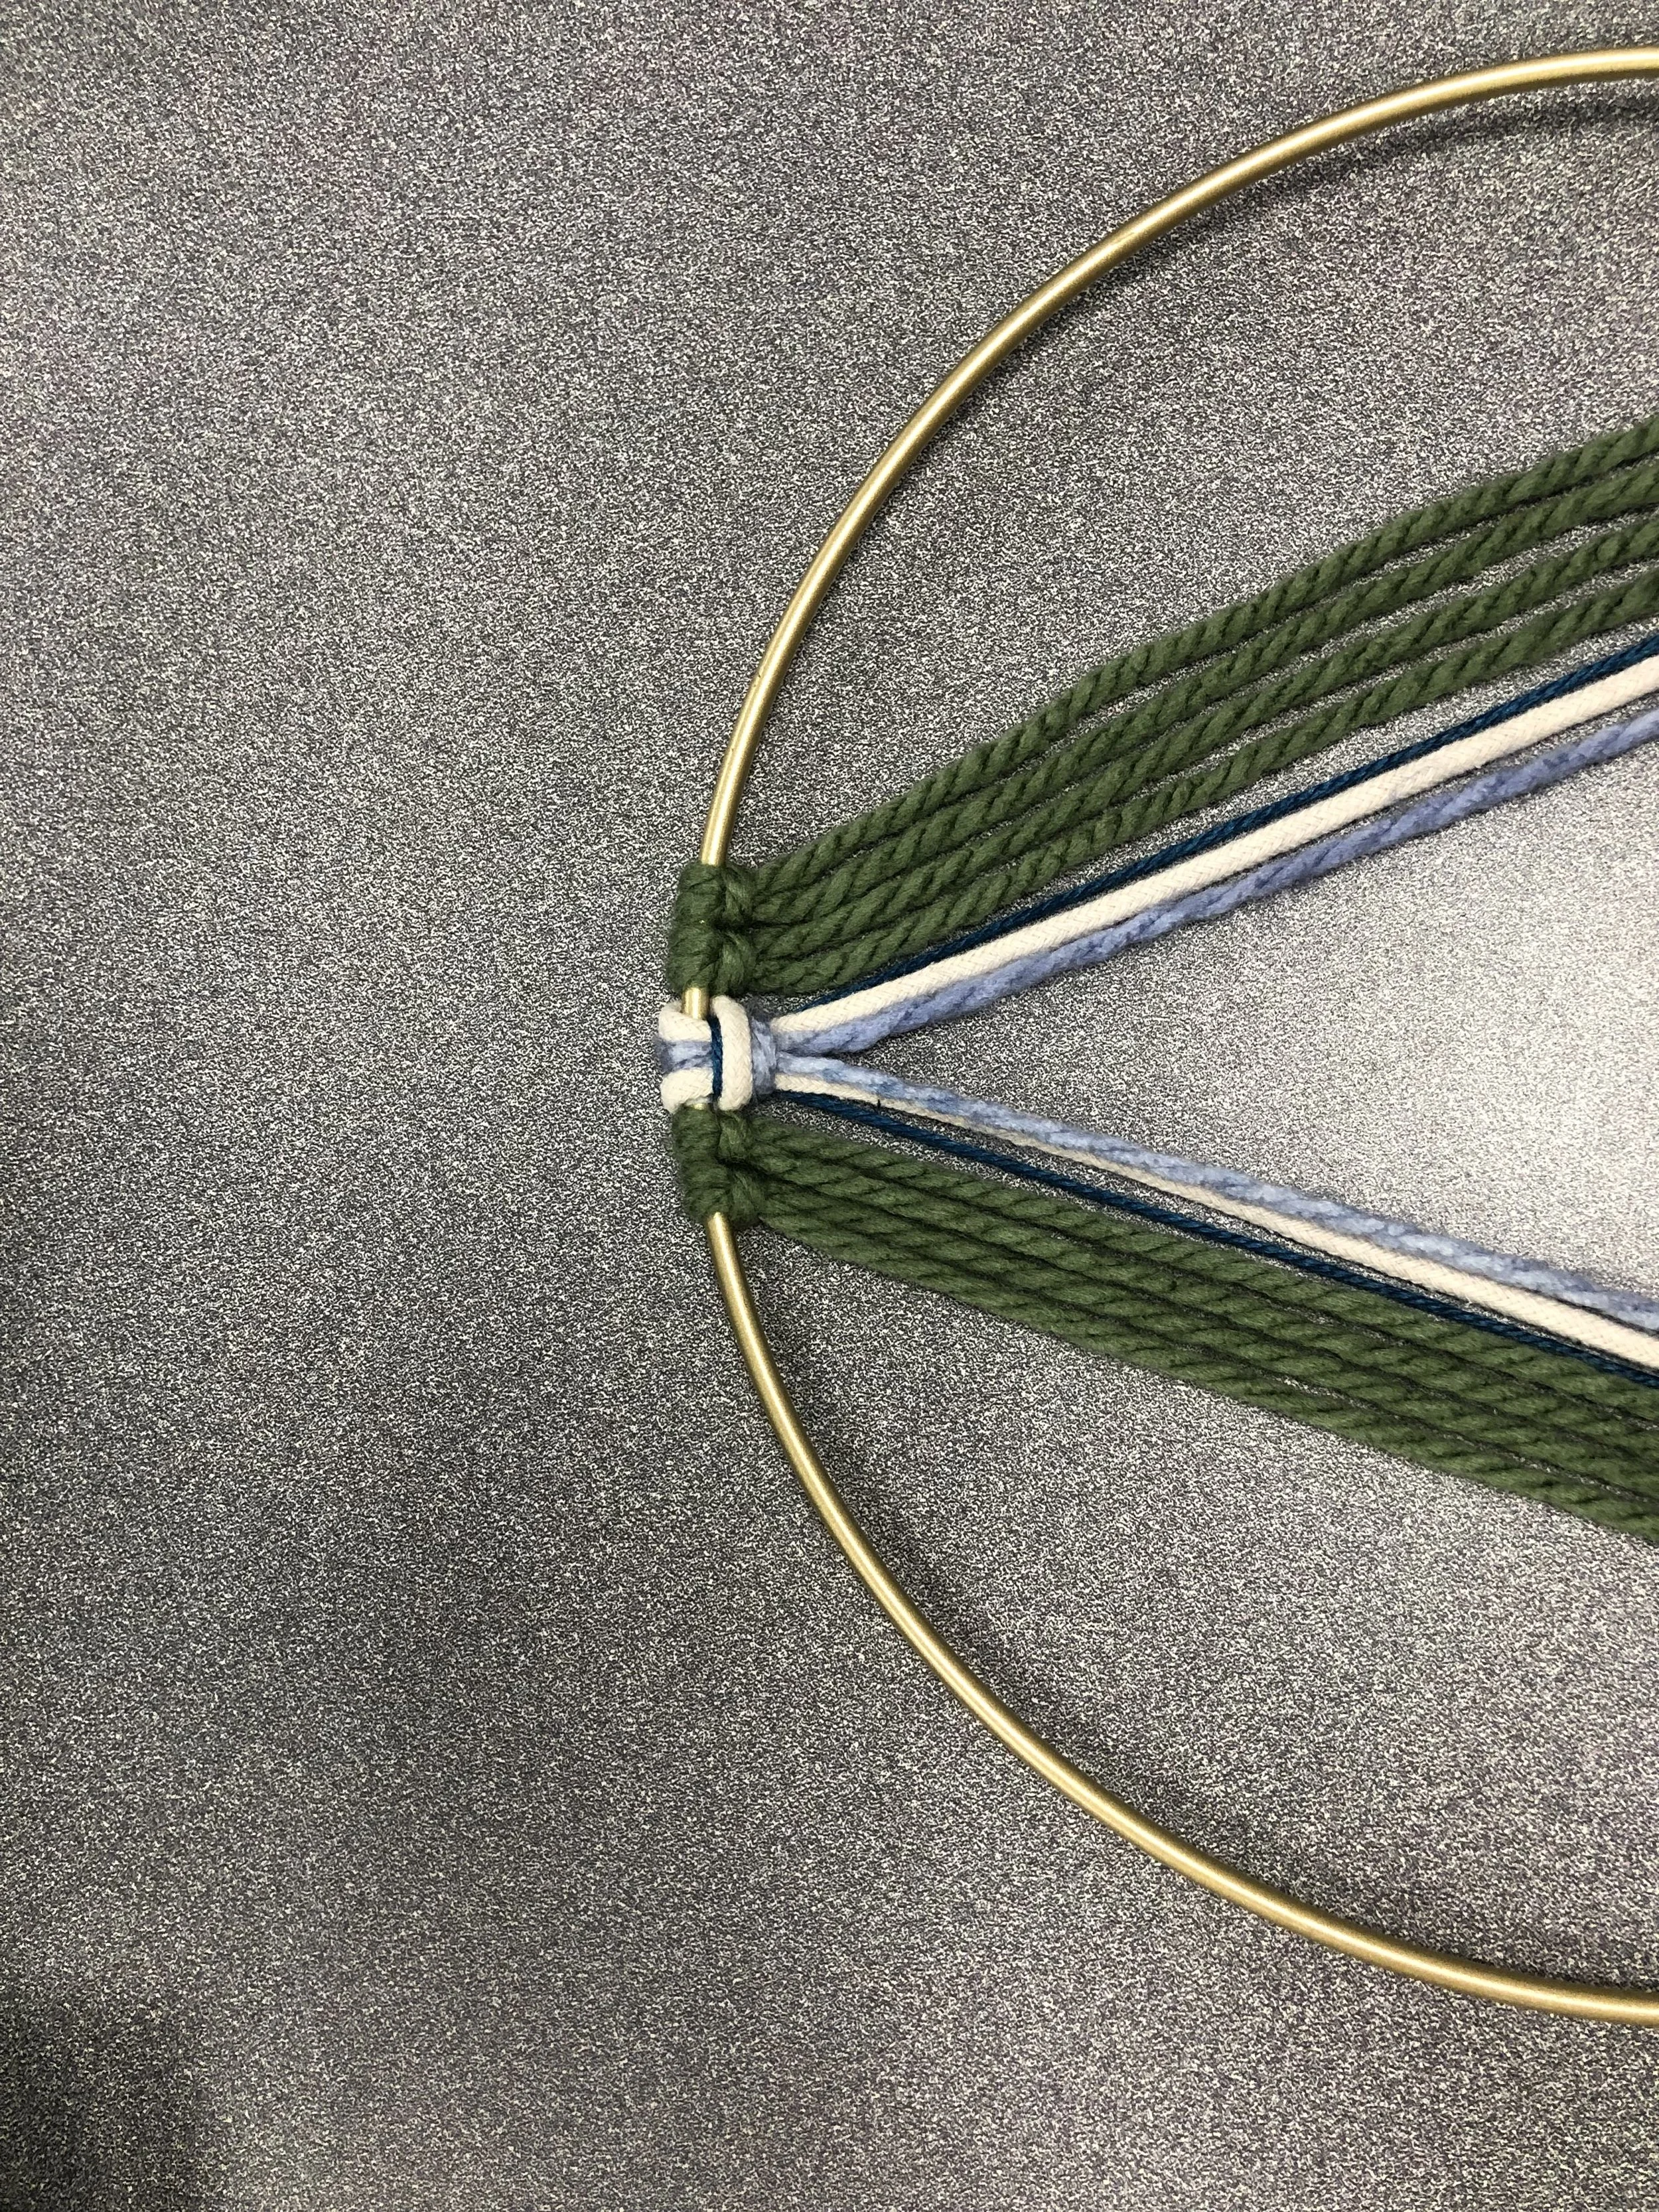
Split ends into two to form a V, making sure each color is on either side.
Step Six.

Keeping colors in opposite order to each other, keeping them behind the ring.
Step Seven.

Put the ends over the strings, under the ring and into the loop to pull tight into a knot.
Step Eight.

Repeat steps 6 and 7 on the other side.
Step Nine.

Combine rope ends together, to tie into a knot, loosely forming a V shape, leaving the others alone.
Step Ten.
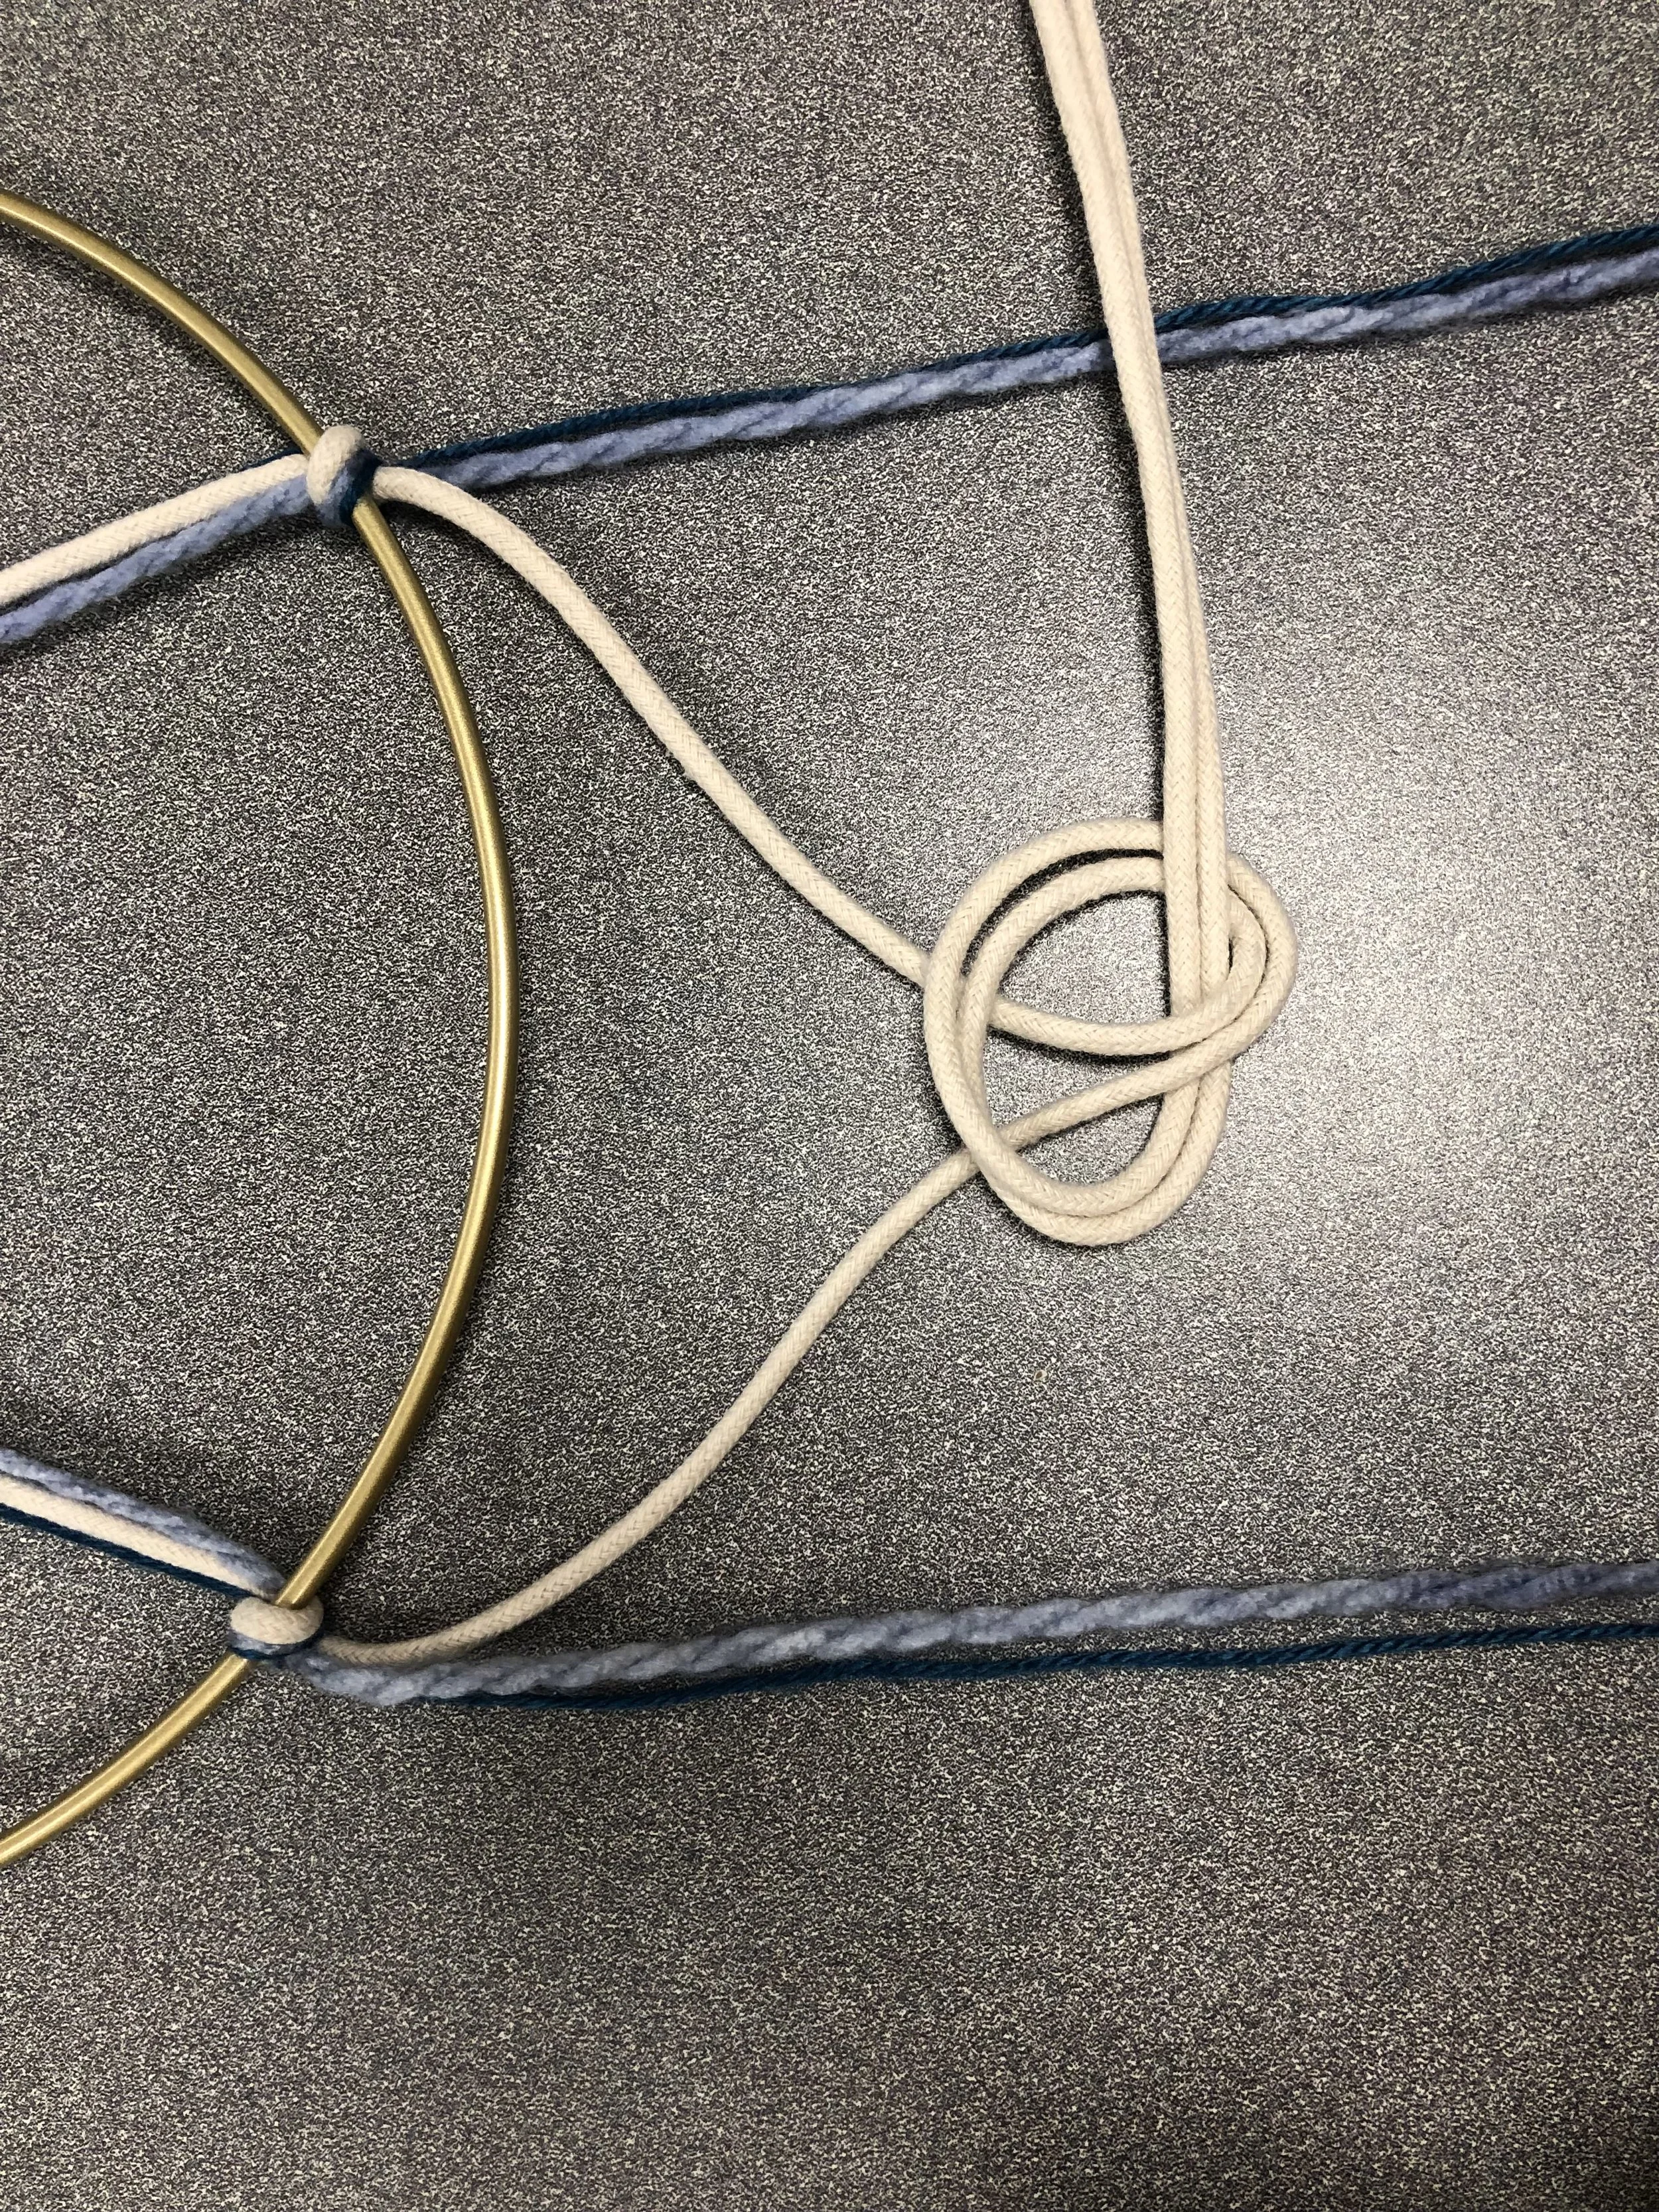
Tie the knot by bringing rope over, under and through the loop and pull ends tight to form a knot- adjust as needed.

Lay rope ends over the outer strings to form a line.
Step Eleven.
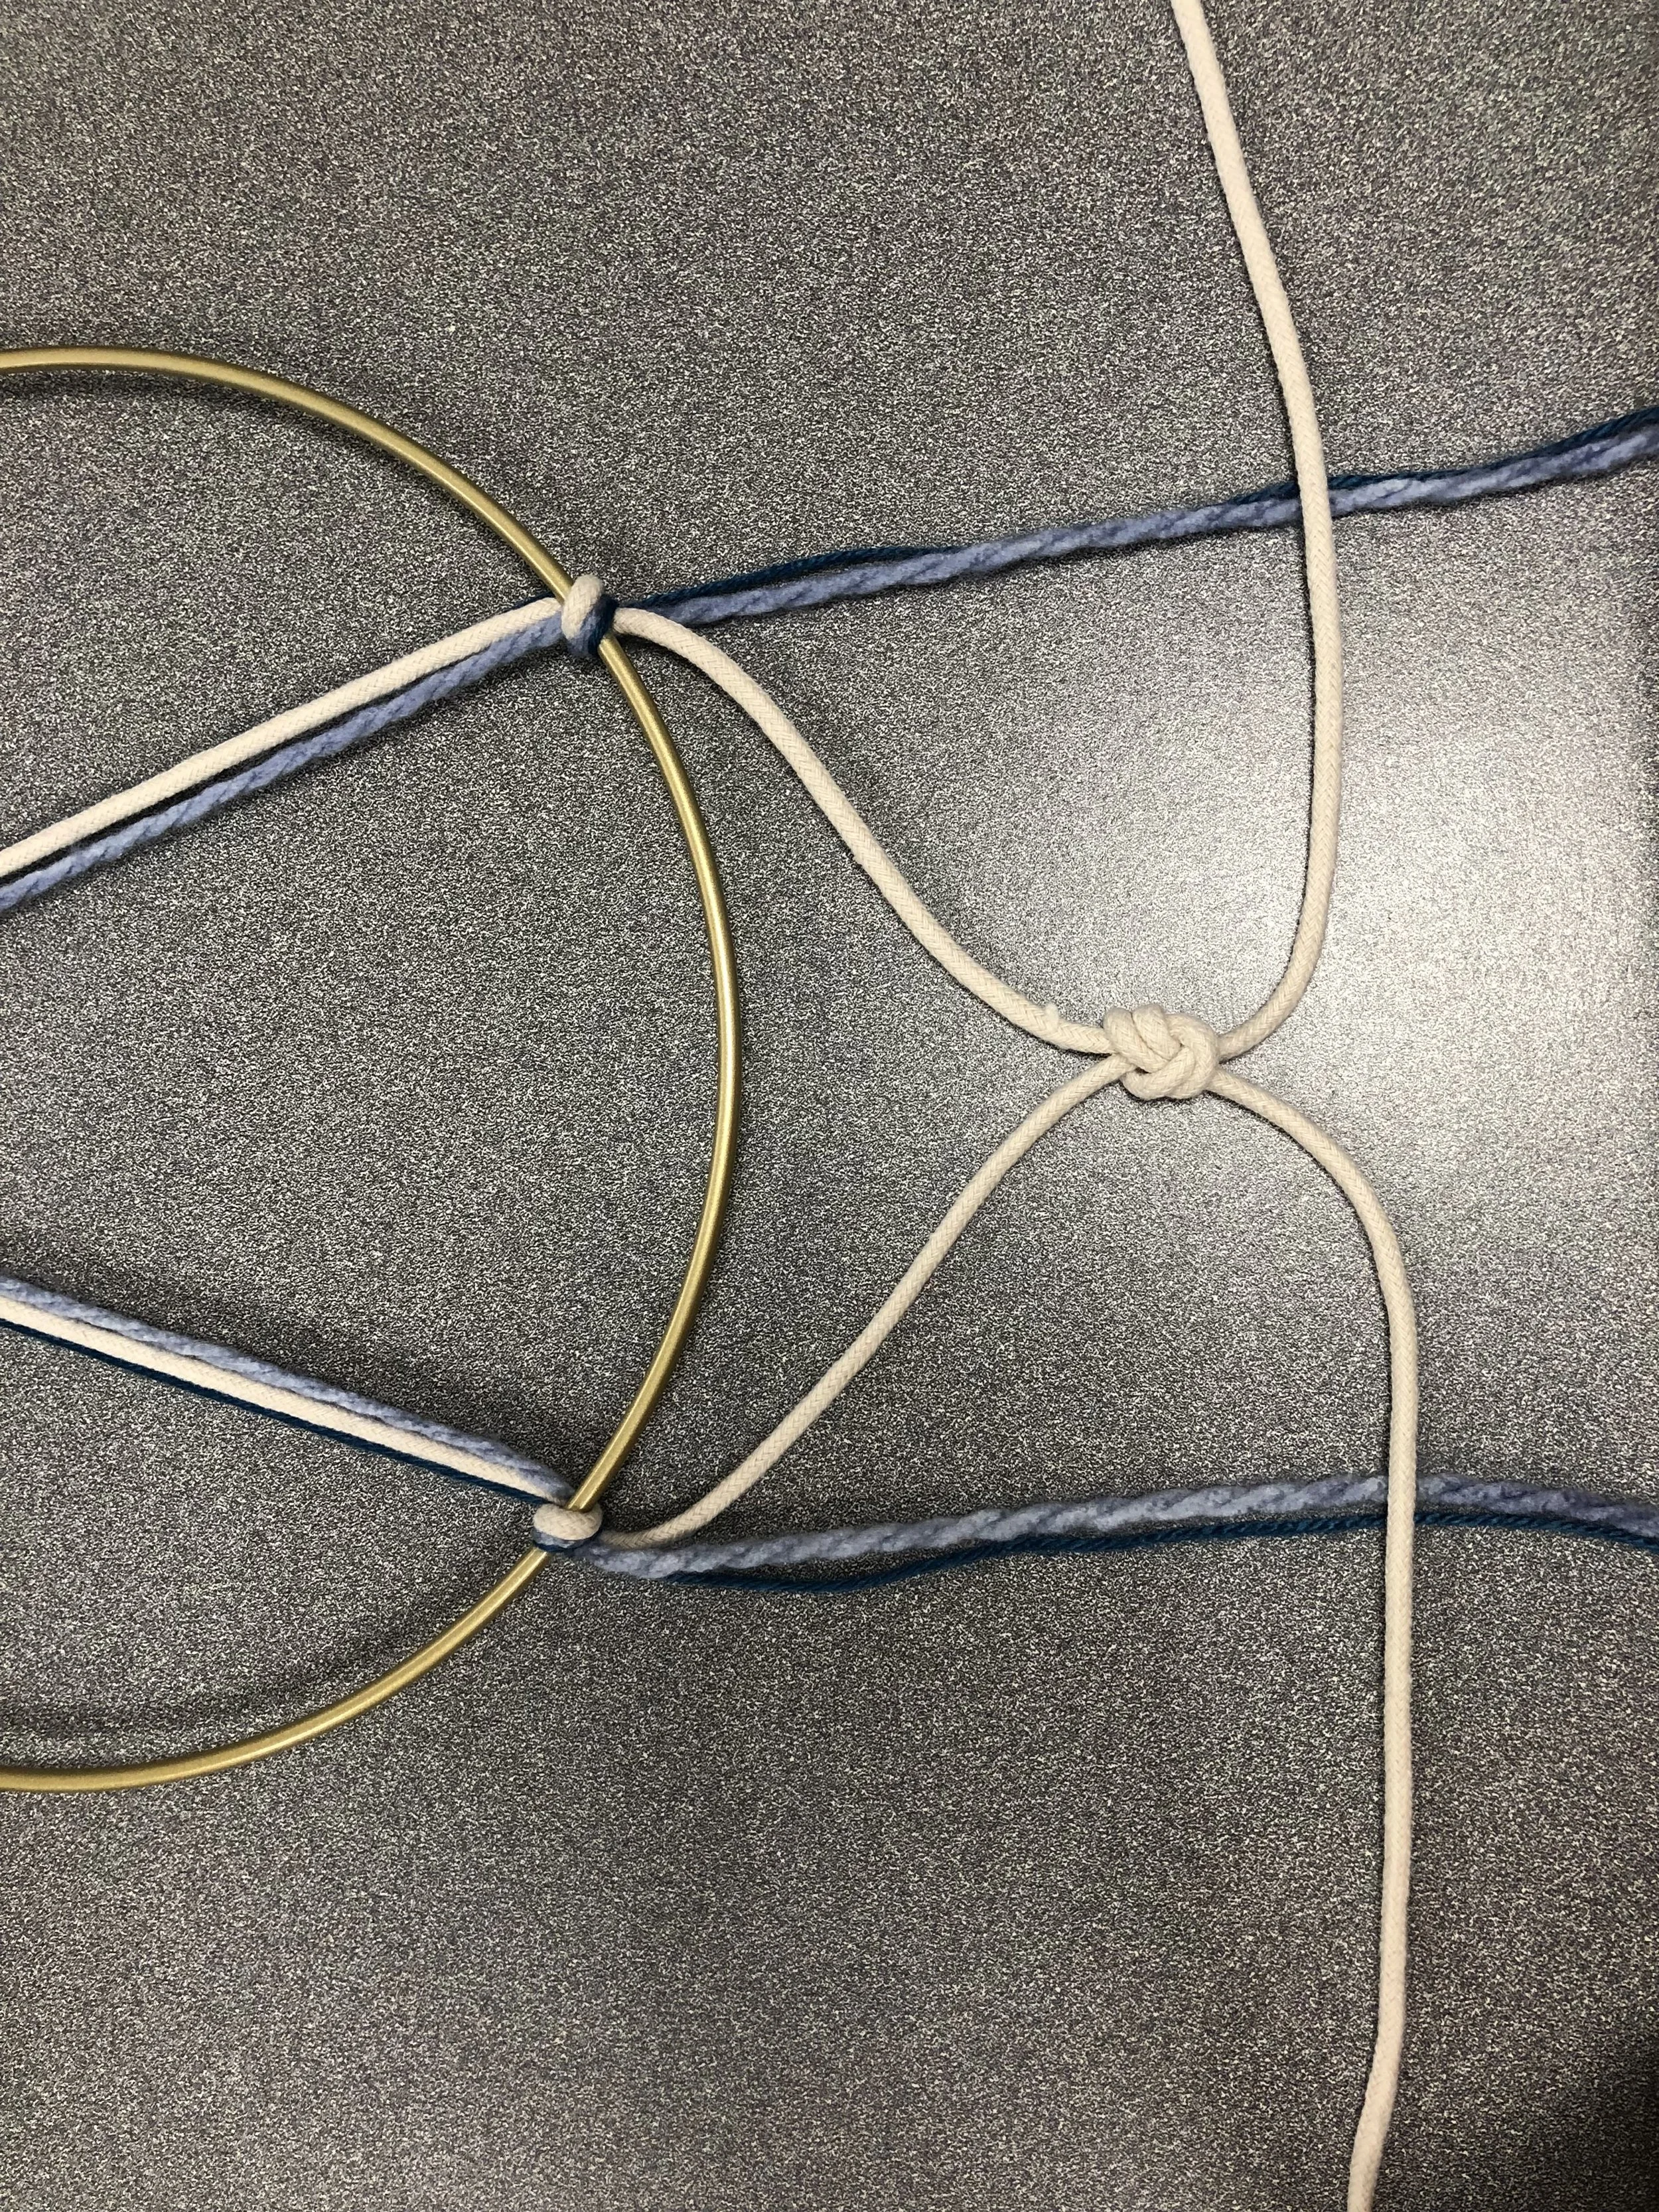
Bring side ends from behind the rope over, under and through the loop and pull ends tight to form knots.
Step Twelve.
Bring side ends together following steps 9 and 10.
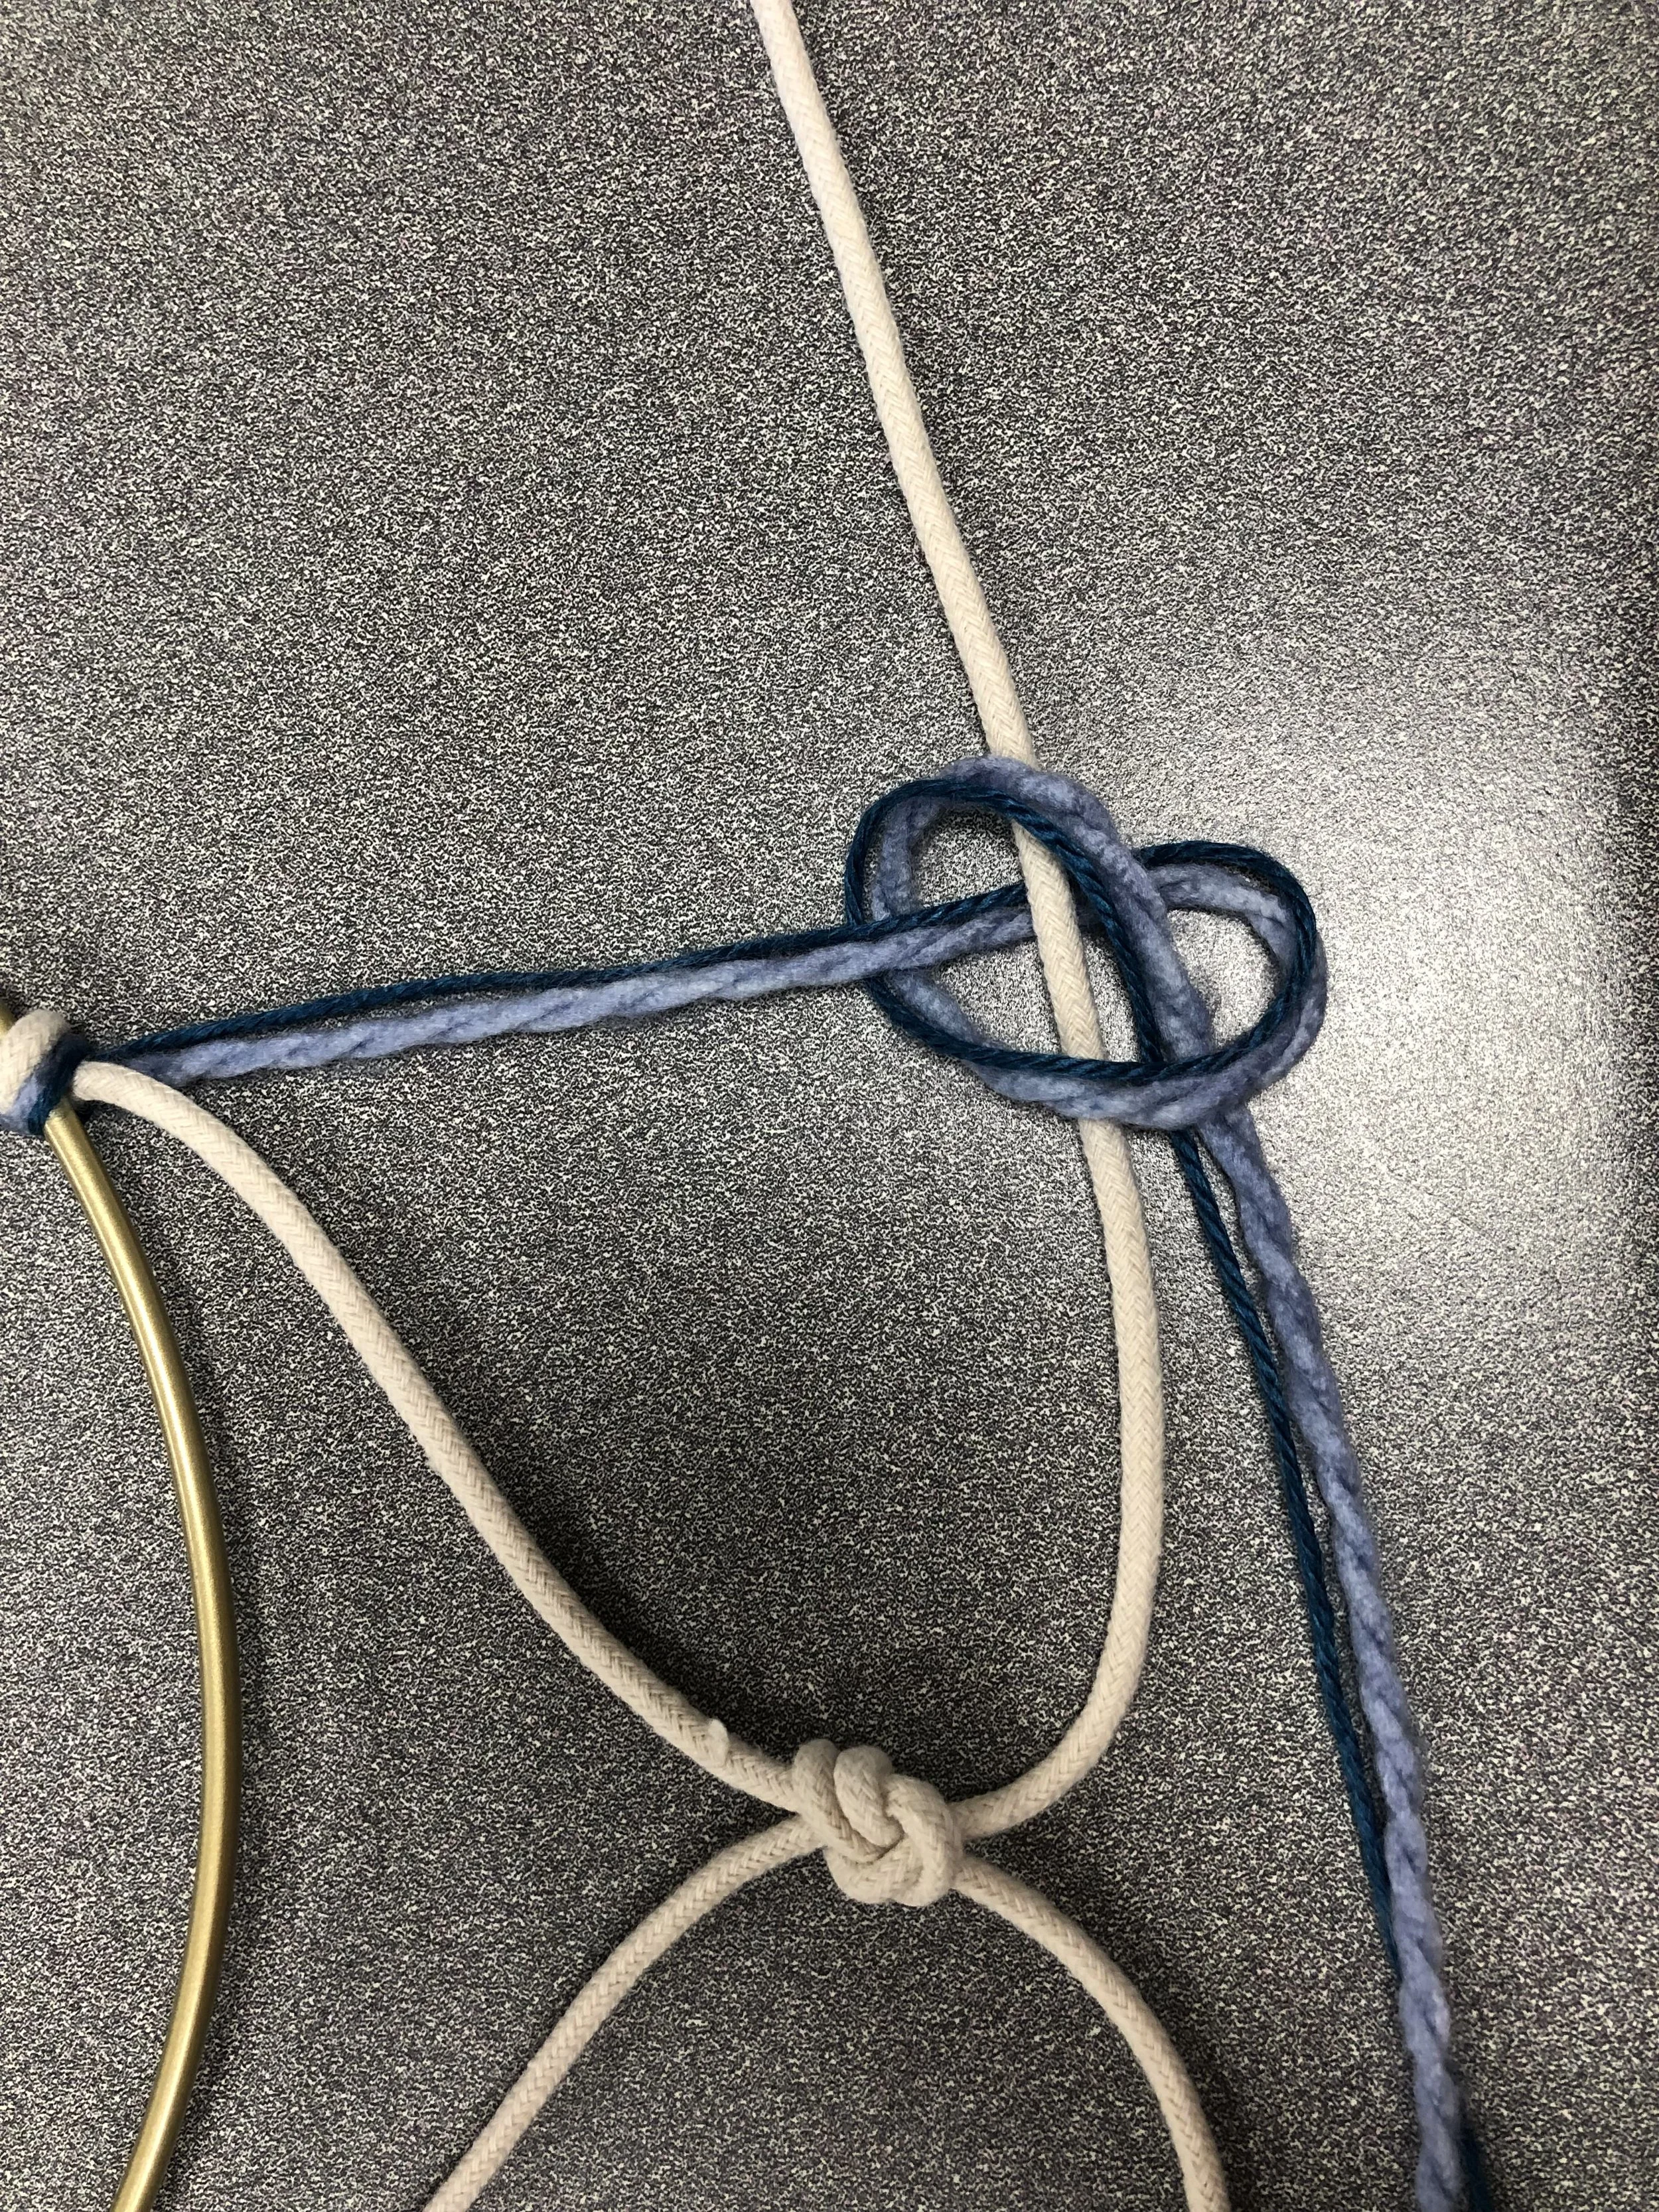
Step Thirteen.
Step Fourteen.

Adjust / slide any knots to your liking.
Take 4 new strings, assigning two to each side of the top not of the ring.
Step Fifteen.

Double each string as in step 1 and follow steps 2-3 to secure each string to the ring.
Step Sixteen.

Separate out ends and place them in order behind the ring, avoiding overlap.
Step Seventeen.

Follow step 7 to all strands, making 8 knots total (4 on each side).
Step Eighteen.
Step Nineteen.
Lay out all the ends at the bottom of the ring so they are straight and not overlapping each other to prepare for.

Knot the rope ends individually (you will cut below the knots, so keep them above the center strings).
Step Twenty.

With all ends still laying out, cut the ends of every string to form an overall V shape- the steepness of the V is up to you.
*Knot and fray the ends of each rope and fray if desired- you have complete artistic freedom!